A wonderful hour of facial therapy and spa time is always welcomed by any lady! The multistep facial treatment cleanses your skin, activates skin cells, hydrates and nourishes it, making it look younger. Isn’t it amazing how it relieves tension and makes the skin glow?
It’s difficult to surpass the feeling of getting pampered at a salon and returning home with soft, rosy skin. However, as much as we adore the two full hours of royal pampering, sometimes hectic schedules don’t allow us to get facial therapy. But that doesn’t imply you should miss out on the heavenly treatment. Have you ever done your own facial therapy at home? How about doing a facial at home and getting the same effects as if you went to a spa? All you have to do now is follow the instructions one by one and complete each step correctly.
Now, get ready. Remove your hair from your face and tie it into a headband. Here are seven easy and simple facial therapy steps to perform a salon-quality facelift at home and receive the envious radiant skin you’ve been wanting.

1. Cleanse Your Facial Area With a Wash
This is the first stage in facial treatment, and it ensures that dirt is removed from the skin’s surface, especially after a long day at work. Lotion dispensers containing cleansing chemicals can be found in department stores where you may cleanse your face skin using them.
It’s best to begin your facial therapy with a clean slate. It’s critical to cleanse your face properly before beginning your facial in order to remove any grime, make-up, or product build-up.. Remove any traces of cosmetics from the face with cleansing wipes. Use a facial oil like coconut oil or olive oil to cleanse your skin surface and then use an oil-based cleanser or any other facial oil, such as coconut oil or olive. You’ll be able to rest and recoup after such an intensive cleaning session. You’ll acquire a clean new start with no dirt or stains on it.

2. Exfoliate
The second stage is to exfoliate. Exfoliating the skin with a mild scrub helps remove dead cells, polish the surface, and make it look brighter. Take a tiny amount of your face scrub and gently massage it over your face and neck in a circular motion, removing skin cells and facial impurities from the surface. Plus, it helps stimulate facial circulation to provide a refreshed appearance.
Exfoliation is very important because we tend to use facial soaps and facial washes which can leave our facial skin dry, dull and lifeless.
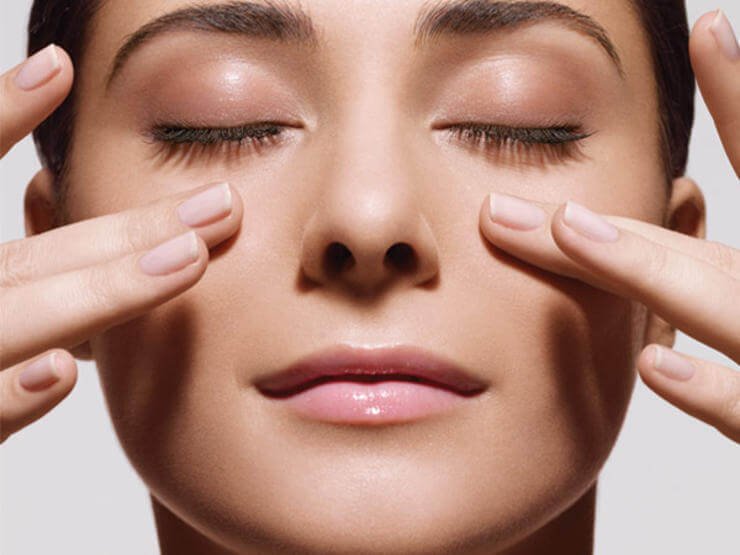
3. Face Massage
Face massage can be very beneficial for your skin. The facial muscles are stimulated, the facial blood circulation is improved, the facial skin is nourished and facial lymph nodes are activated. Besides facial therapy, massaging your face can also reduce stress levels.
Take a tiny quantity of face massage cream with dampened palms. Start at the middle of your forehead and work your way down to your temples. Gently massage the sides of your nose and cheeks. Massage the lips and jawline. Don’t forget to softly massage the neck. Massage in an upward direction, starting at the chin and working your way up. After 10 minutes of massage time, cleanse your face with water.
4. Taking Steam
Now for the pore cleaning! After exfoliating and stroking, the steam follows. It aids the pores in opening, allowing lotions to absorb more easily. Also, heat has beneficial effects on the skin. It makes the skin relaxed and wet. This is a wonderful step for oily and acne-prone skin. Boil some water. Lean over and take steam for 5-10 minutes. Cover your head with a towel to ensure that the heat is retained and the skin receives some steam. If you need fresh air, take the towel off.

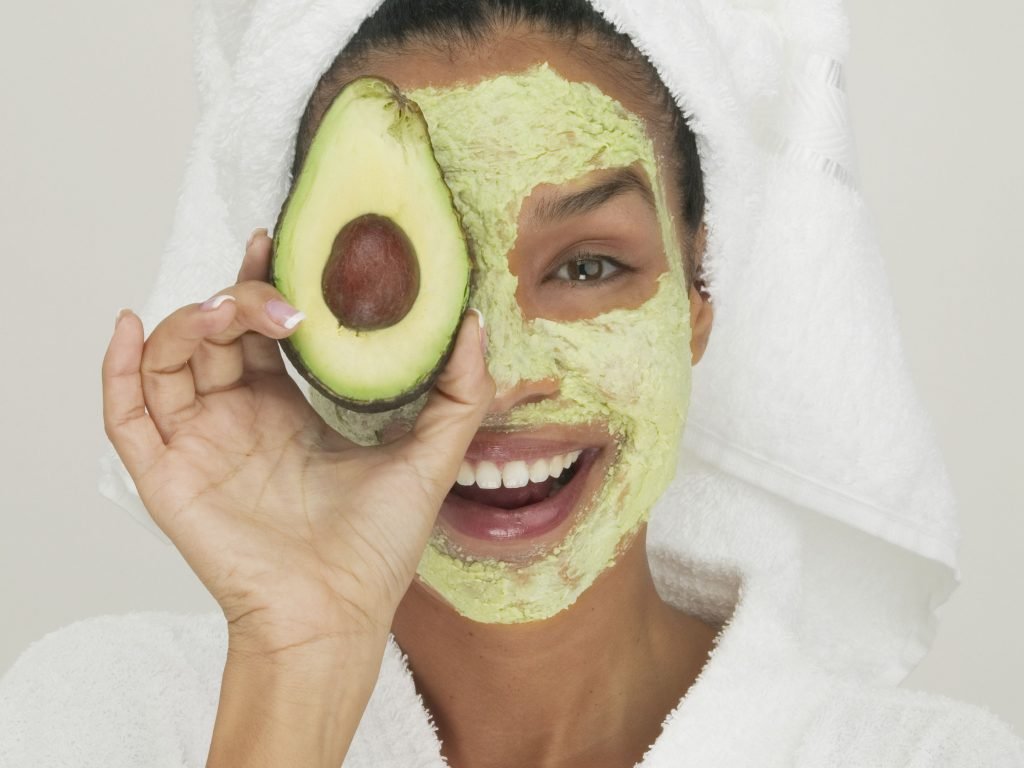
5. Face Mask
After steaming the next step of facial therapy is putting on a mask, as your skin needs something therapeutic and moisturizing. The pores on the face are closed, and any impurities are removed. The radiance is restored by face masks. Grab a favorite face mask and use this time to unwind.
A face mask can also be made at home using natural ingredients from your kitchen, according to your skin type and need. For example, make a face mask with oatmeal and avocado or banana and honey for oily skin; blend together to prepare a dry skin facial mask. Simply place chilled cucumber slices on your eyes and leave the face mask in place for 15 minutes before washing it away.
6. Toning
Toning is a critical component of your at home facial therapy. Toner will now help to close and clean the pores once your skin has absorbed the substances and goodness of face masks. It also restores the skin’s equilibrium and is great for acne-prone skin since it prevents dirt from adhering to the surface. There are different types of facial toners and various DIY facial recipes are available.

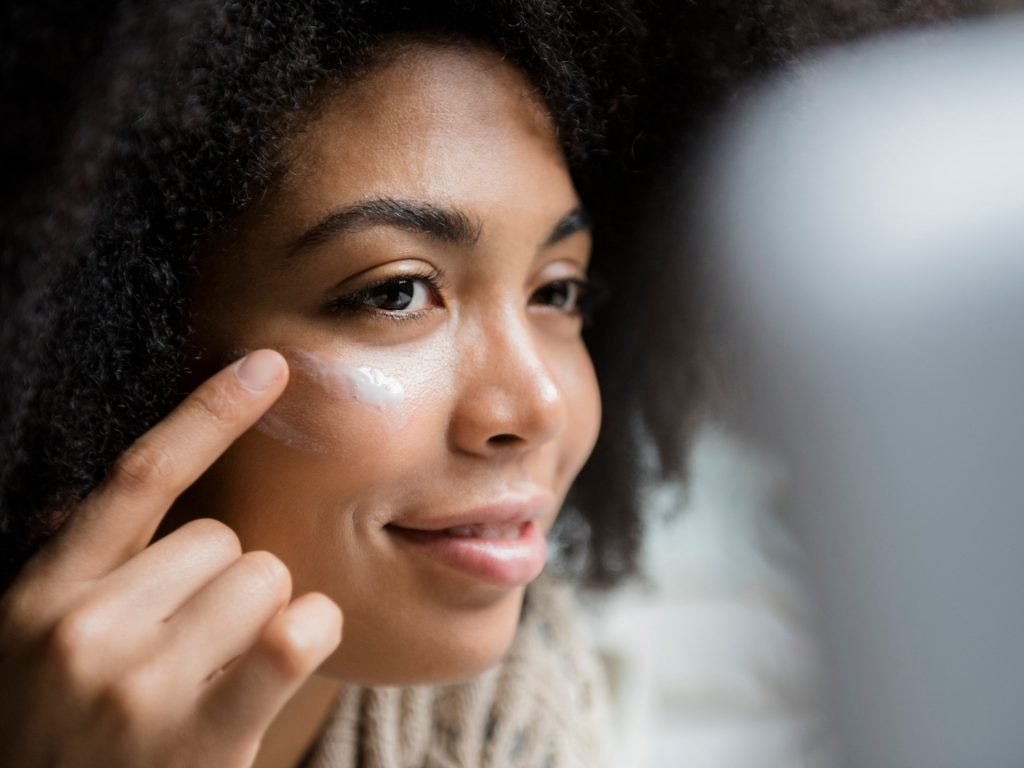
7. Moisturize, Of Course
A hydrating lotion is the perfect way to bring everything together and round out your 7-step home facial therapy. The face must be moisturized at the end of each session to prevent skin drying out and cracking. This final step helps to keep the skin hydrated while also aiding in the retention and sealing in of moisture. Make sure your hands are clean before proceeding.

To Wrap Up
Your skin will feel smooth and moisturized after a facial therapy. To keep that suppleness, you must hydrate your body. To keep that youthful appearance and your glow, drink at least 3 liters of water every day over the next three days.